Learning Objectives
After completing this lesson, you will be able to:
- Complete an immediate post-recording verification protocol within 5 minutes of wrap.
- Navigate DaVinci Resolve’s Cut and Edit pages to perform a basic podcast edit.
- Apply room tone to fill edit gaps and maintain continuous ambient audio.
- Export a finished episode using the Deliver tab’s YouTube preset.
- Explain the difference between shooting resolution (4K) and delivery resolution (1080p).
- Create a session log documenting key moments, timestamps, and technical notes.
- Document a recording setup for consistency across future sessions.
Vocabulary
| Term | Definition |
| Cut Page | Simplified editing interface in Resolve for fast, single-timeline podcast editing. |
| Edit Page | Full-featured Resolve interface with multiple tracks, titles, effects, and layered composition. |
| Deliver Tab | Resolve export interface with presets for YouTube and other platforms. Handles codec and settings automatically. |
| Codec | Compression algorithm reducing file size while maintaining quality. Resolve presets handle selection automatically. |
| Session Log | Post-recording document capturing guest info, file names, best moments, issues, and edit notes. |
| Setup Documentation | Photos, measurements, and settings records for recreating identical conditions across sessions. |
| Fairlight | Professional audio engine built into Resolve. Provides mixing, EQ, noise reduction, and compression. |
| Media Encoder | Adobe’s export application. Provides YouTube-optimized presets similar to Resolve’s Deliver tab. |
Core Concepts
The Immediate 5-Minute Protocol
Verify recordings: play back 10 seconds from start, middle, and end on each device. Back up immediately to a second drive. Make notes while memory is fresh: best moments with timestamps, technical issues, surprises. Create the session log: guest name, date, all file names and locations, duration, and notes.
The ‘One More Thing’ Technique
Before the guest leaves the space, ask: ‘Is there anything I did not ask that you wish I had?’ Then: ‘Where can people find you?’ Keep recording for 1-2 minutes of casual post-interview conversation with the guest’s knowledge. These moments often yield the most authentic material. Ethics: always tell the guest you are still recording.
Editing in DaVinci Resolve
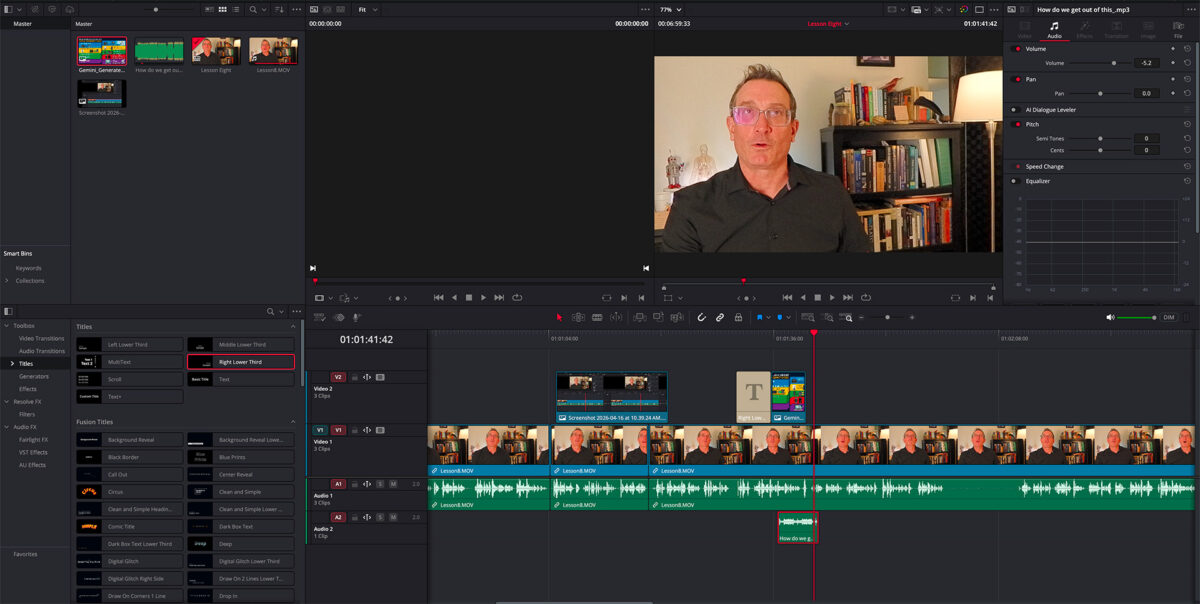
Start on the Cut page for straightforward edits: trim clips, remove dead air, cut mistakes. When you need titles, music beds, 4K crop reframing, or layered audio, click over to the Edit tab. Same project, same footage, more capability. You can move freely between Cut and Edit.
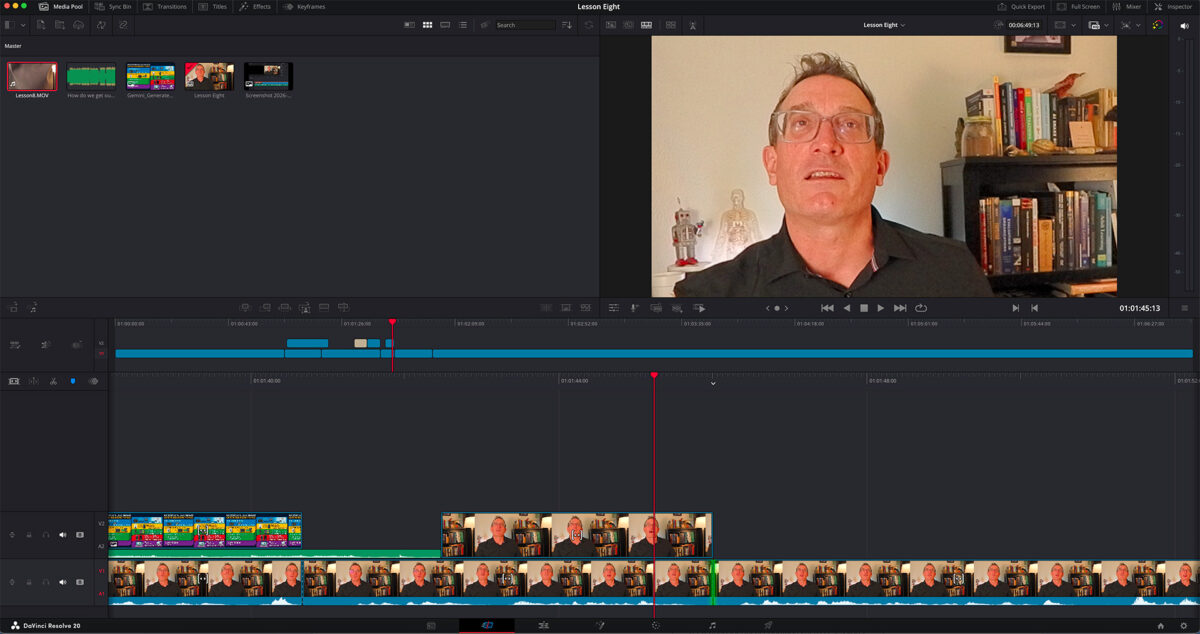
Room Tone in the Edit
When you cut a section, fill the gap with room tone from your 30-second pre-session capture. Lay it on a track underneath dialogue for continuous ambient sound. If you need to loop, add crossfades between duplicates to avoid cycling artifacts (J. Elias, 2026).
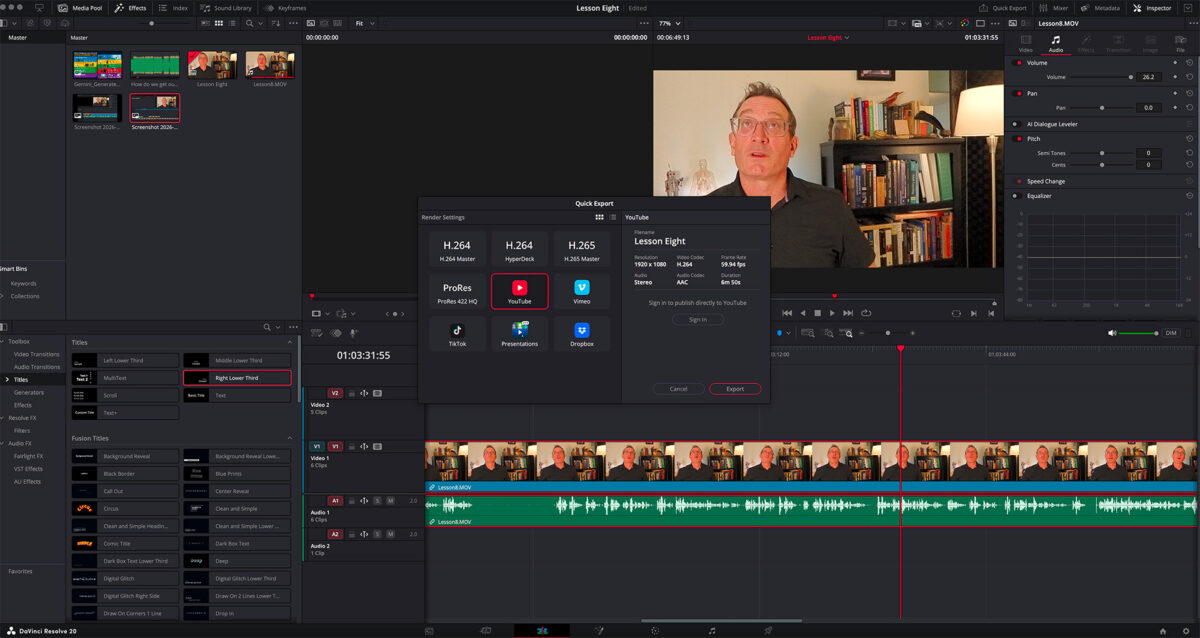
Exporting for Delivery
Click the Deliver tab. Click the YouTube preset. It selects the right codec, data rate, and resolution automatically. Shoot 4K for crop flexibility; deliver at 1080p for practical distribution. You do not need to understand compression algorithms. If using Adobe Premiere, export through Media Encoder with its YouTube preset.
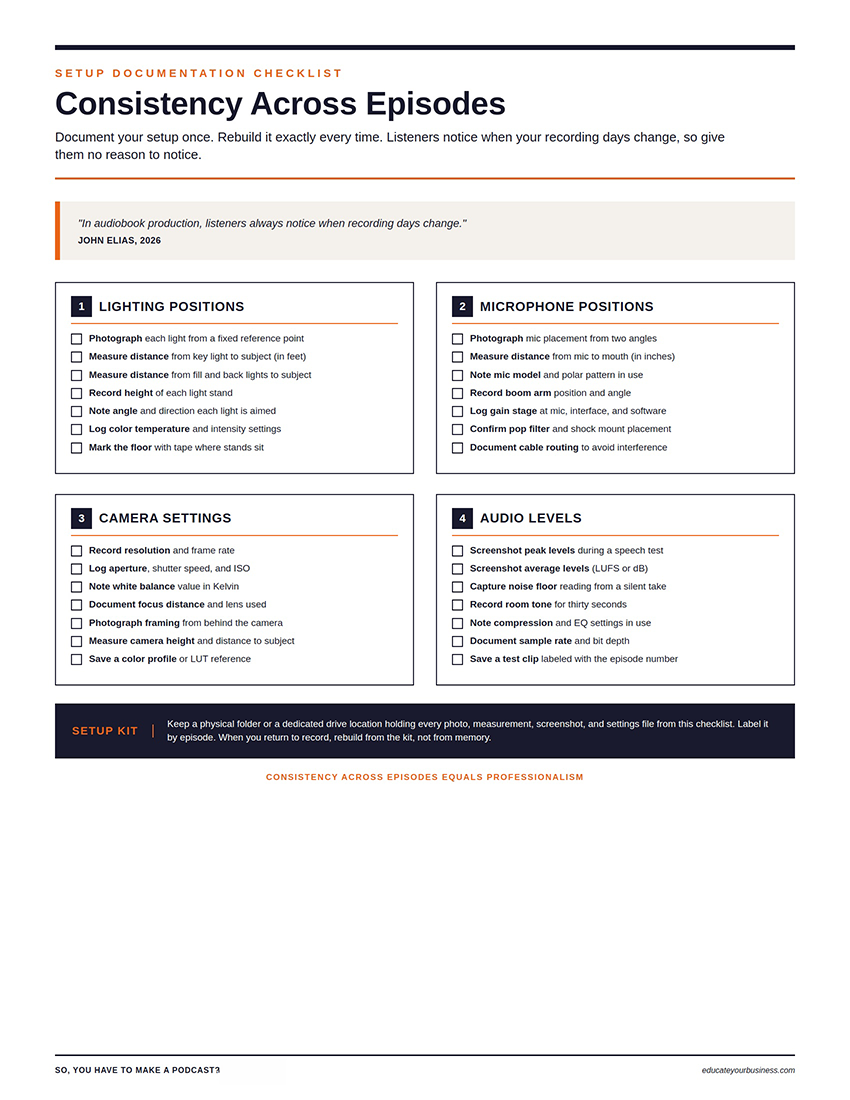
Documenting Your Setup
Take photos of lighting positions. Measure distances. Note mic positions. Record camera settings. Screenshot audio levels. Keep a setup kit for recreating identical conditions. Consistency across episodes equals professionalism. John Elias: in audiobook production, listeners always notice when recording days change. (J. Elias, 2026).
| Scenario: Your First Edit 45-minute interview recorded. Open Resolve, Cut page. Import footage and audio. Align using hand clap sync (L6). Trim 2 minutes of pre-interview chatter. Cut the phone ring at minute 22, drop room tone into the gap. Remove the long pause at minute 31. Keep the powerful moment at minute 38 and the ‘anything I did not ask’ answer at minute 44. Click Deliver. Click YouTube. Export. Upload. Published. If you are interested in learning DaVinci Resolve, visit the creators website: https://www.blackmagicdesign.com/products/davinciresolve/training |
| Graduate Student Tip Click Deliver. Click YouTube. That is it. Do not fall into the codec research rabbit hole. For your first five episodes, the YouTube preset gives you a perfectly publishable file. Once you have five episodes and understand your audience, experiment with custom settings. Right now, the preset exists so you can focus on content. |
Hands-On Exercise: The Complete Debrief Cycle
- Record a 10-minute practice interview.
- Within 5 minutes of stopping, complete verification: check playback, back up, create session log.
- Import into Resolve. On the Cut page: trim top/tail, cut one section, drop room tone into the gap.
- Click Deliver. Select YouTube. Export.
- Watch the export. Evaluate: does the room tone sound natural? Is audio consistent? Is quality publishable?
- Document your setup. Photos, measurements, settings. Save as your reference kit.
Self-Check Questions
- What should you do within the first 5 minutes after recording ends?
- What is the difference between the Cut page and Edit page in DaVinci Resolve?
- Why do you place room tone underneath your dialogue?
- What happens when you click the YouTube preset on the Deliver tab?
- Why shoot 4K but deliver at 1080p?
- Why is documenting your setup important for a podcast series?