LEARNING OBJECTIVES
After completing this lesson, you will be able to:
1. Explain why subject-to-background distance affects the visual quality of a podcast recording.
2. Demonstrate proper subject-to-wall distance (4 to 6 feet minimum) when setting up a recording space.
3. Identify at least three creative advantages of separating a subject from the background.
4. Compare side-by-side photographs showing wall-adjacent versus separated subject placement and articulate the visual differences.
5. Distinguish between depth of field achieved through lens aperture and depth achieved through set design.
VOCABULARY
Depth of Field: The distance between the nearest and farthest objects in a scene that appear acceptably sharp. In podcast production, the space between your subject and the background that allows for blur, lighting effects, and visual separation.
Separation: The visual distinction between a subject and the background, achieved through distance, lighting, or focus differences. When a subject “pops” off the background, they have good separation.
Backlighting: A light placed behind the subject that creates a subtle rim or halo effect, separating them visually from the background. Sometimes called a “rim light” or “hair light.”
Aperture: The adjustable opening in a camera lens that controls how much light enters and how much of the scene is in focus. Measured in f-stops (f/1.2, f/2.8, f/5.6). A lower number means a wider opening and shallower depth of field.
Iris: Another term for aperture, commonly used in video production. When someone says the iris is “fully open,” they mean the aperture is at its widest setting, producing the shallowest depth of field.
Set Design: The intentional arrangement of furniture, lighting, and visual elements within a recording space. In podcast production, set design communicates your show’s identity to viewers before anyone speaks a word (J. Elias, interview, March 17, 2026).
CORE CONCEPTS
The Wall-Hug Problem
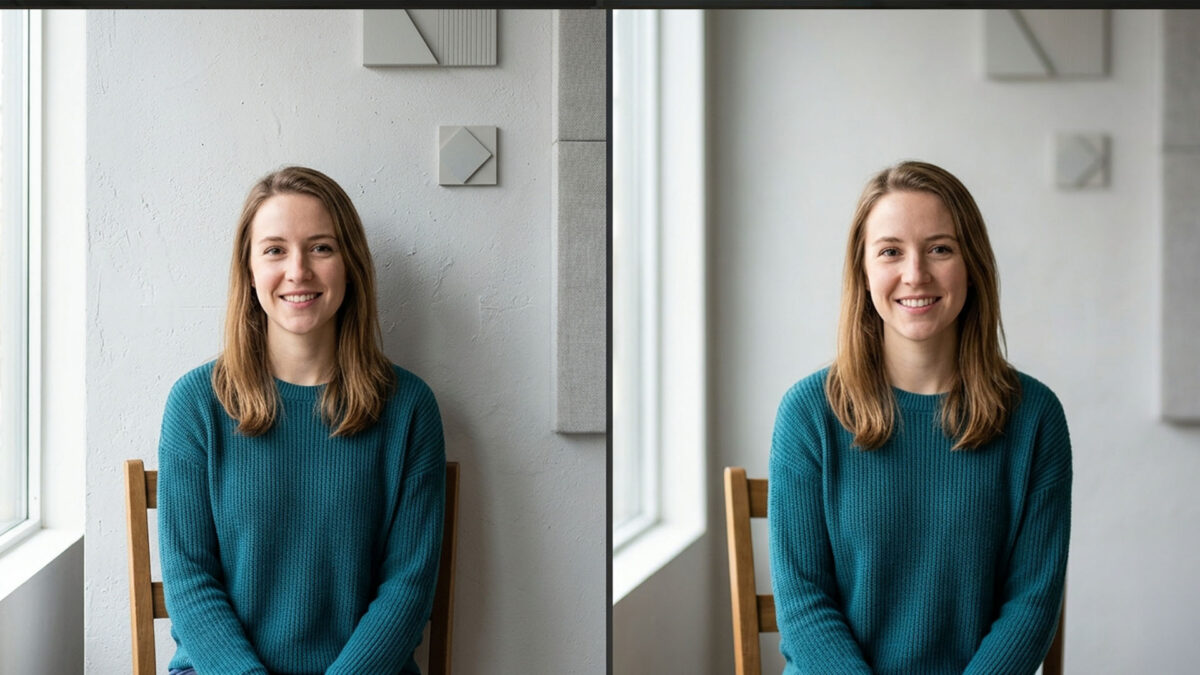
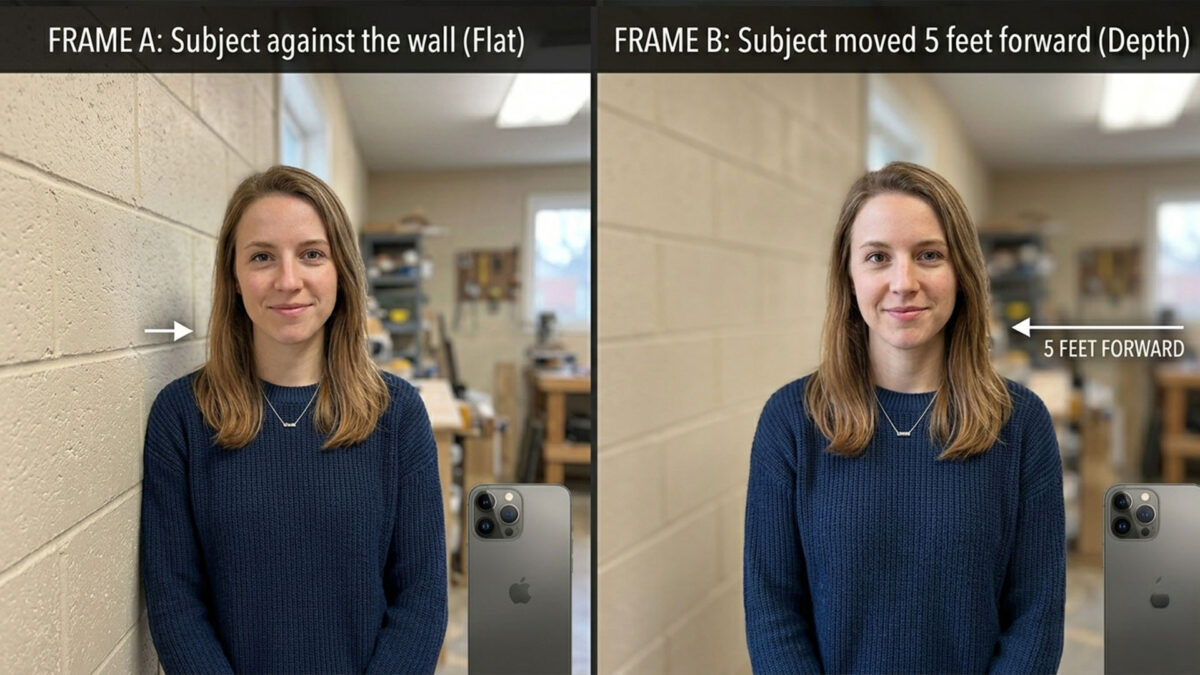
When a subject sits directly against a wall, the camera captures both the person and the wall surface at the same focal distance. The result is a flat, two-dimensional image where shadows fall directly on the wall, surface imperfections remain in sharp focus, and there is no visual separation between foreground and background.
This is the single most common setup mistake in amateur podcast production. It eliminates every creative option before you even hit record.
Why Distance Matters
Moving the subject four to six feet forward from the wall introduces depth. That space becomes a zone you can manipulate with lighting, blur, and set dressing.
John Elias, a lighting director for large venues and concerts with experience spanning concert production, television, and corporate media, recommends pulling furniture at least eighteen to twenty-four inches from the wall as a starting minimum. In a dedicated recording space, he suggests moving furniture to the center of the room for maximum depth, even though it looks awkward without the camera running (J. Elias, 2026)
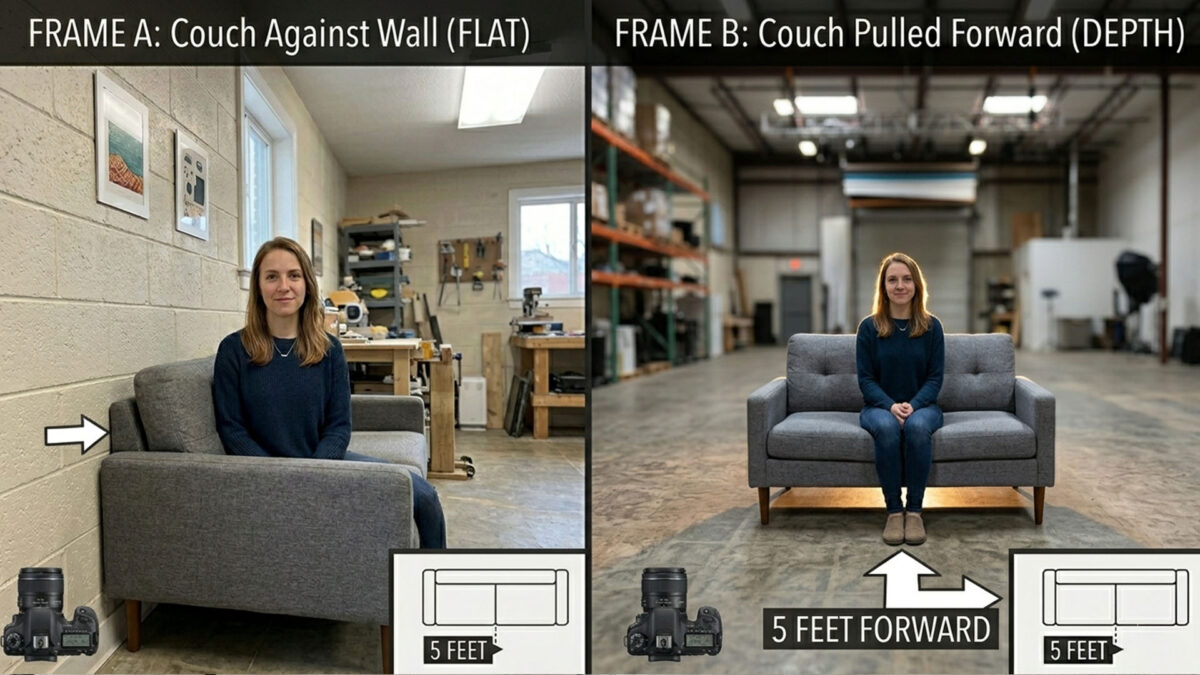
That gap between subject and background provides five creative advantages: room for backlighting to create rim separation, the ability to blur the background (in-camera or in post-production), shadows from the key light that fall on the floor instead of printing on the wall, space for visual interest elements like bookshelves, plants, or art, and the overall perception of a larger, more professional set.
The Aperture Question
You may encounter the term "depth of field" in photography contexts where it refers specifically to lens blur, the soft background look you see in professional portraits and cinema. That effect is controlled by aperture (also called the iris), measured in f-stops. A fast lens at f/1.2 can make the depth of field so short that a subject's nose is in focus while their ears go soft. A stopped-down lens at f/5.6 keeps more of the scene sharp.
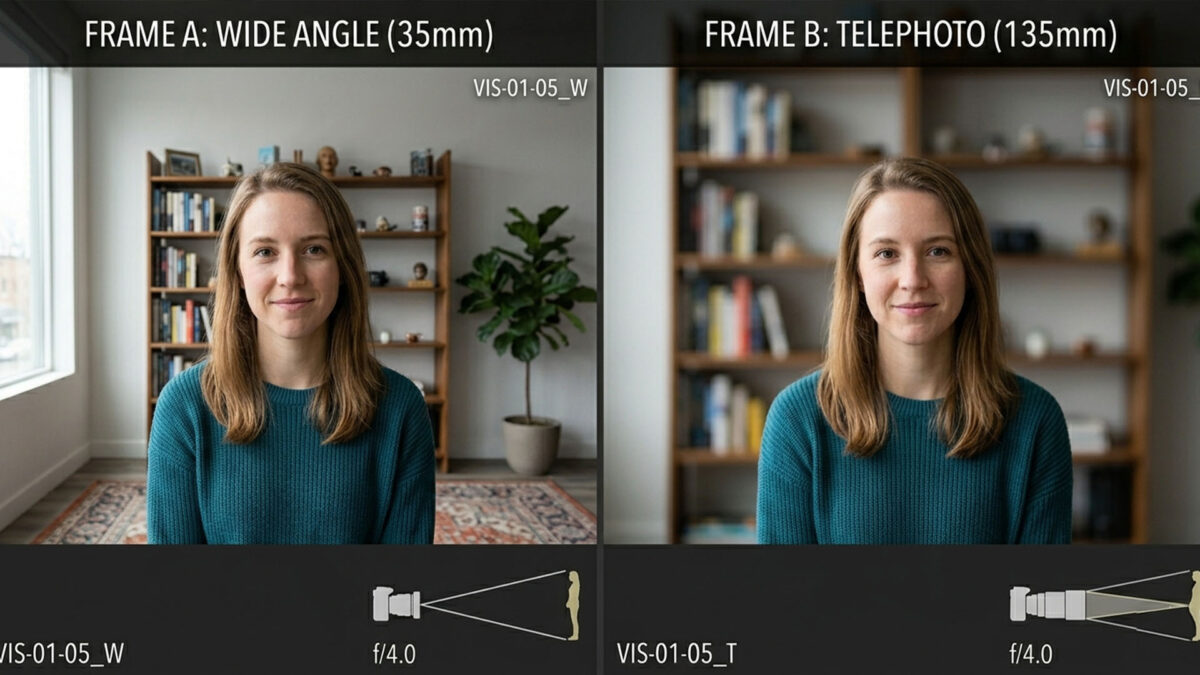
For podcasting, expensive lenses are not the path. Most podcast recording happens on phones, basic camcorders, or consumer-grade cameras in auto mode, all of which keep most of the frame in focus. John Elias's advice is direct: create depth through set design, not through expensive glass. Physical distance between your subject and the background achieves the same perceptual depth that a fast lens provides, and it costs nothing.
Building Your Set Through Distance
Set design starts with space. Before you think about lights, before you select a camera angle, look at your room and ask: how far can I pull my subject from the background?
Here is what the reaction video podcasters that John references in his interview figured out: their set tells you who they are before anyone speaks. Posters on the wall behind them, the right lighting mood, furniture positioned to give the camera something to look at. All of that starts with creating enough distance to separate the person from the background. Whether your podcast is about music, education, or business, your set should communicate your subject matter and your audience's expectations (J. Elias, 2026).
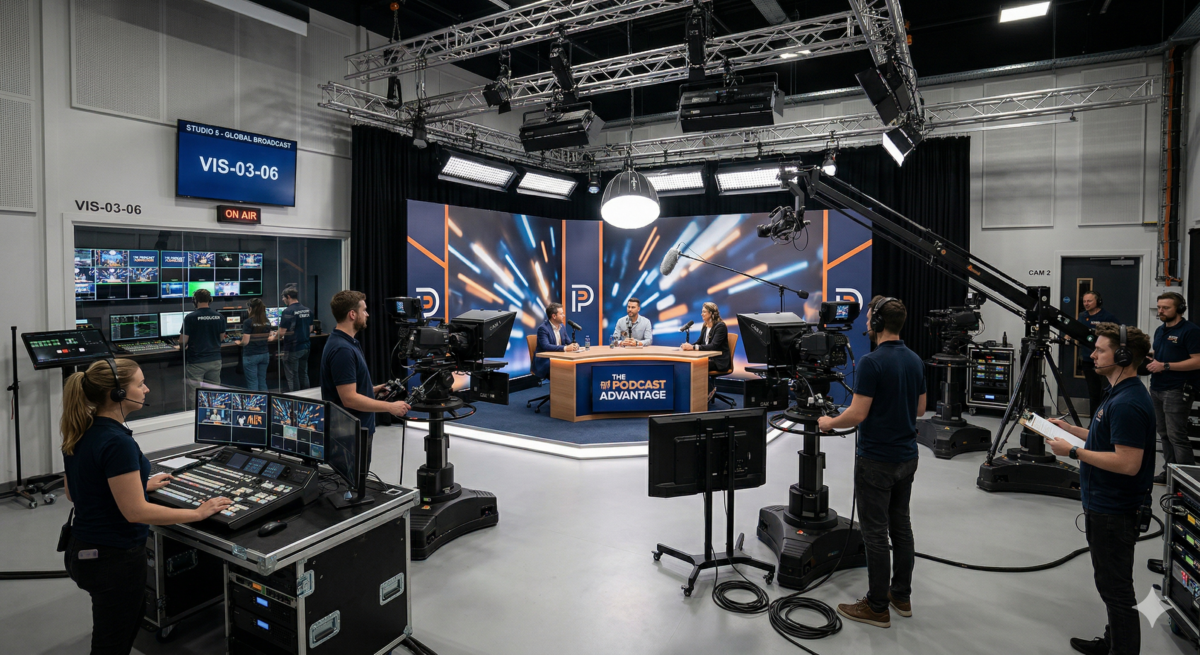
SCENARIO BOX: The Living Room Setup
Imagine you are setting up in a typical living room, roughly fourteen by twenty feet. You have a couch against the back wall. Your first instinct is to sit on the couch and point the camera at yourself. Here is the problem: you are pinned against the wall, and everything behind you is in sharp focus at the same plane.
Now try this. Pull the couch to the center of the room. Place the camera against the far wall. Suddenly you have eight to ten feet of depth behind you. The background wall starts to recede. If your camera has any aperture control at all, those elements behind you begin to soften. Even without blur, the distance alone creates the perception of a bigger, more dimensional space.
This is not theory. This is John Elias describing his own recommendation for this exact recording setup.
GRADUATE STUDENT TIP
You are probably recording in a room that serves another purpose: a living room, a spare bedroom, a home office. You do not need to permanently rearrange your space. Before each recording session, pull your chair or couch forward. After you wrap, push it back. It takes two minutes and transforms your footage. Keep a small piece of painter's tape on the floor to mark where the furniture goes for recording so you do not have to re-measure each time.
HANDS-ON EXERCISE: The Depth Comparison
Find three different locations in your available space. For each location:
Step 1: Place a chair directly against the wall. Take a photo from where your camera would be positioned.
Step 2: Pull the chair approximately five feet from the wall. Take the same photo from the same camera position.
Step 3: If you have a lamp or any portable light, place it behind and to the side of the chair in the pulled-forward position. Take one more photo.
Compare all your photos side by side. Write down what you observe about shadows, dimension, and overall visual quality for each pair.
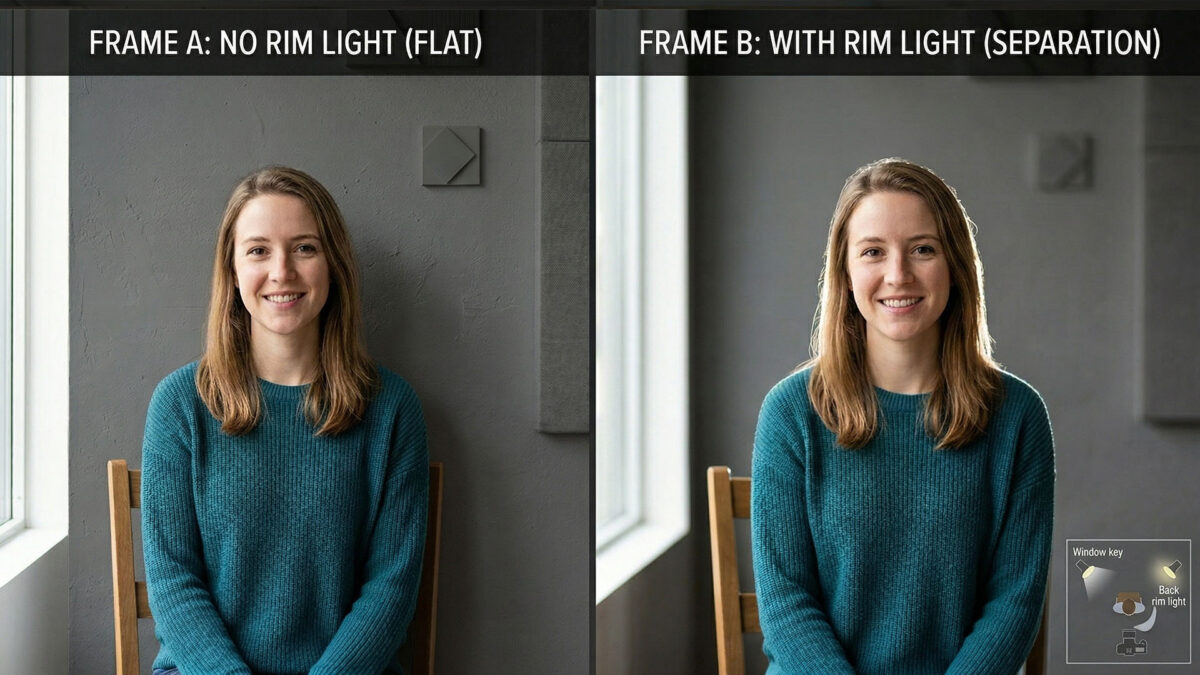
Submit your comparison photos and written observations. There are no wrong answers. The goal is to train your eye to see depth.
SELF-CHECK QUESTIONS
1. Why does placing a subject against a wall create problems for podcast video?
2. What is the minimum recommended distance between a subject and the background?
3. Name three creative advantages you gain by pulling a subject away from the wall.
4. John Elias recommends creating depth through __________, not through __________.
5. What does the term "separation" mean in a production context?